
Your vape device stops working reliably. Flavor turns burnt. Weak hits frustrate every session. Most users blame defective hardware, but the real culprit is preventable maintenance neglect. Regular care extends device lifespan, preserves flavor consistency, and prevents safety issues. This guide provides daily, weekly, and monthly maintenance steps to optimize your vaping experience and protect your investment.
Table of Contents
- Prerequisites: Tools And Materials Needed
- Daily Vape Care Routine
- Weekly Cleaning Routine
- Monthly Deep Maintenance And Coil Care
- Battery Maintenance And Safety Tips
- Common Mistakes And Troubleshooting
- Expected Results And Outcomes
- Enhance Your Cannabis Experience With Premium Vape Care
Key Takeaways
| Point | Details |
|---|---|
| Daily checks prevent leaks | Inspect pod connections and wipe moisture to avoid damage and misfires |
| Weekly cleaning maintains airflow | Clear debris from airflow holes and clean contacts for consistent hits |
| Monthly coil care extends flavor | Replace coils proactively and prime properly to prevent burnt taste |
| Proper battery maintenance ensures safety | Use manufacturer cables only and avoid overnight charging to prevent failures |
| Avoid common mistakes | Never overtighten pods or ignore airflow blockages to protect components |
Prerequisites: Tools and Materials Needed
Gathering the right tools makes vape maintenance efficient and safe. You need non-metallic picks or toothpicks to clear airflow holes without scratching delicate surfaces. Cotton swabs dipped in isopropyl alcohol (90%+) safely clean battery contacts and mouthpieces when parts dry completely before reassembly. Pipe cleaners reach tight spaces inside tanks and mouthpieces.
Use only manufacturer-recommended chargers and cables. Third-party chargers may deliver incorrect voltage, damaging battery cells and creating safety hazards. Keep mild soap and warm water for external housing cleaning. Avoid harsh chemicals that degrade plastic or rubber components.
| Tool/Material | Primary Purpose | Usage Tips |
|---|---|---|
| Cotton swabs | Clean contacts and mouthpiece | Dip in isopropyl alcohol, squeeze excess |
| Non-metallic picks | Clear airflow holes | Gentle pressure only, avoid scratching |
| Pipe cleaners | Reach internal passages | Twist gently, replace when dirty |
| Isopropyl alcohol 90%+ | Dissolve residue safely | Let parts air dry completely |
| Manufacturer charger | Safe battery charging | Check compatibility before use |
Always work in a well-ventilated area when using isopropyl alcohol. Wear disposable gloves if you have sensitive skin. Store cleaning supplies away from e-liquids to prevent contamination. Learning vape device safety tips helps you handle components confidently. Understanding vape pen types clarifies which cleaning methods work best for your specific device.
Pro Tip: Keep a small cleaning kit in your regular vape storage area so tools are always accessible when you need them.
Daily Vape Care Routine
Daily maintenance takes 30 seconds but prevents major device failures. Start each day by inspecting your device for visible moisture or e-liquid leaks. Checking for leaks around the pod or tank base daily prevents internal damage that causes misfires and battery corrosion.
Follow these quick daily steps:
- Remove the pod or tank and check the base seal for moisture
- Wipe any condensation from the mouthpiece with a clean tissue
- Inspect the battery connection point for liquid buildup
- Ensure the pod clicks firmly into place before vaping
- Test fire once without inhaling to confirm proper function
Condensation naturally forms inside mouthpieces from temperature changes. Wipe it away each morning to prevent gurgling sounds and weak vapor production. Check that pods sit flush against the battery. Loose connections cause inconsistent firing and drain battery faster.
Learning daily vape usage and care tips establishes good habits from the start. Selecting the right vape for maintenance means choosing devices with accessible components that simplify cleaning.
Pro Tip: Set a phone reminder for your morning vape check until it becomes automatic habit.
Consistent daily attention catches small problems before they become expensive repairs. You will notice improved flavor and longer battery life within days of starting this routine.
Weekly Cleaning Routine
Weekly deep cleaning maintains airflow quality and electrical contact reliability. Set aside 10 minutes each week for thorough device inspection and cleaning. This prevents the gradual performance decline that frustrates vapers.
Removing debris from airflow holes using non-metallic tools prevents blockages that cause dry hits and burnt taste. Follow this sequence:
- Power off the device completely
- Remove the pod or tank and set aside
- Use a dry cotton swab to clean the battery contact pin
- Dip a fresh swab in isopropyl alcohol and clean the threading
- Clear airflow holes with a toothpick, using gentle circular motions
- Wipe the charging port with a barely damp swab
- Let all parts air dry for 5 minutes before reassembly
Dirty electrical contacts create resistance that weakens hits and drains batteries faster. Using isopropyl alcohol (90%+) safely cleans battery contacts and mouthpieces without leaving residue when you allow complete drying. Never use water on electrical components.
Watch for these airflow blockage symptoms:
- Gurgling sounds during inhalation
- Reduced vapor production despite full battery
- Whistling noise when drawing
- E-liquid pooling in the mouthpiece
- Unusually tight draw resistance
Implementing safe vape cleaning practices protects both your device and your safety. Weekly cleaning takes minimal time but dramatically improves consistency.
Monthly Deep Maintenance and Coil Care
Monthly maintenance addresses wear that daily and weekly cleaning cannot prevent. Schedule a full disassembly once per month to inspect O-rings, replace coils proactively, and deep clean all components.
Complete these monthly tasks:
- Fully disassemble the tank, keeping small parts organized
- Inspect O-rings for cracks, discoloration, or compression damage
- Wash glass or plastic tank sections in warm soapy water
- Replace the coil even if it still produces vapor
- Prime the new coil by saturating wicks with e-liquid
- Reassemble with fresh O-rings if originals show wear
- Let the device sit for 10 minutes before first use
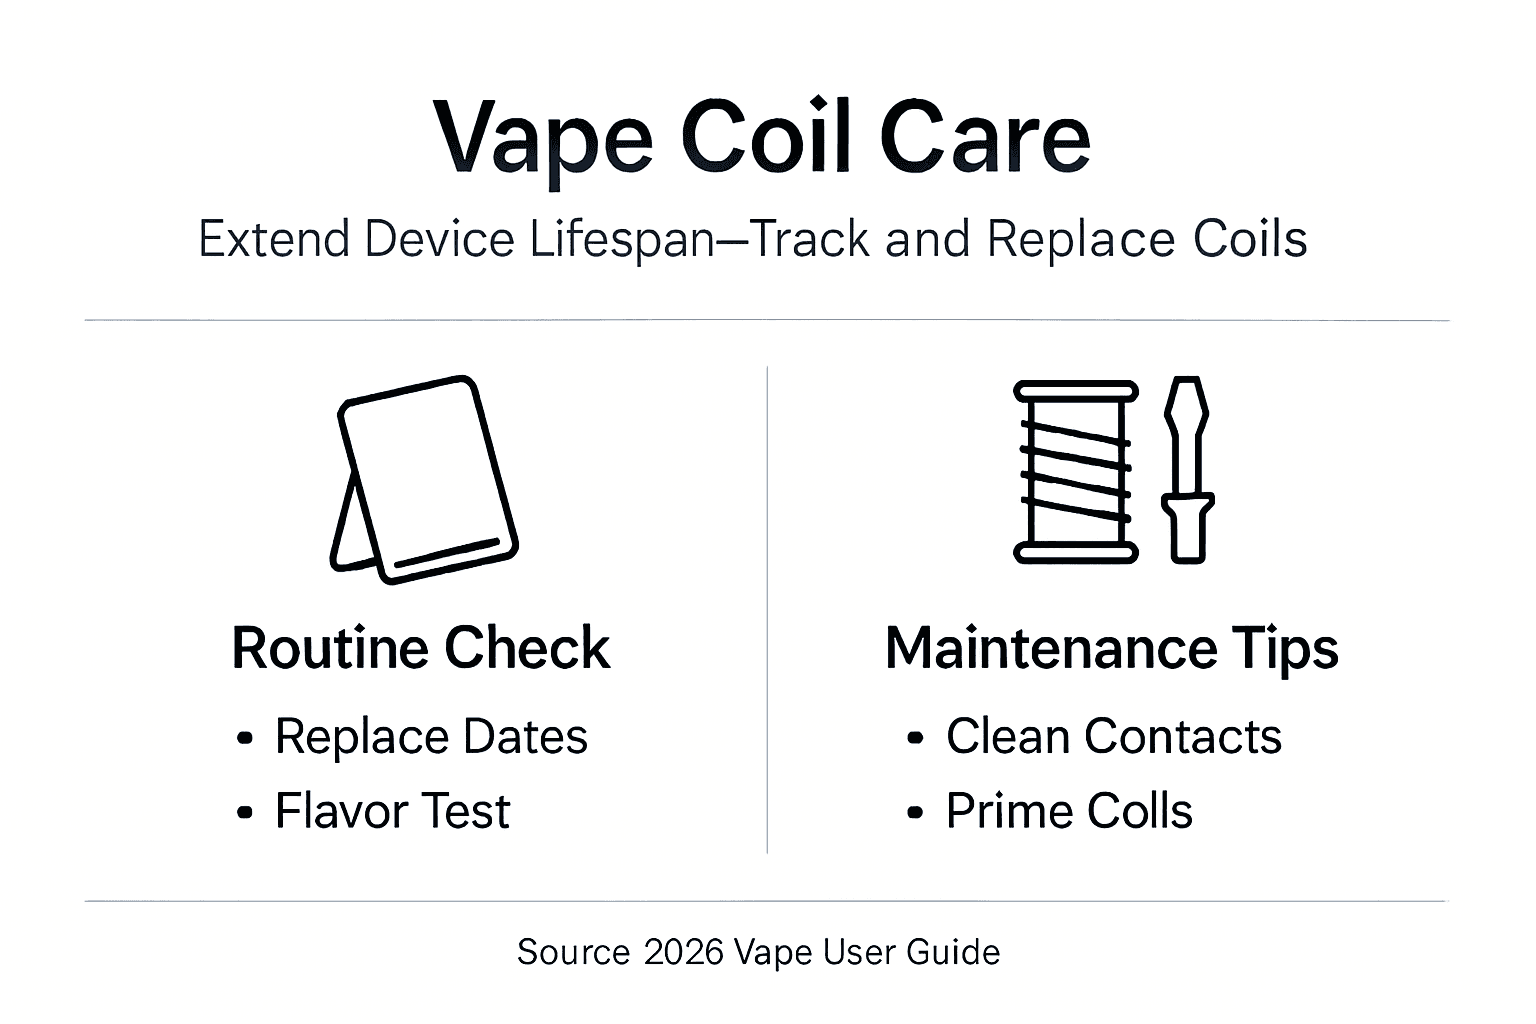
Proactive coil replacement before burnt taste occurs extends typical coil lifespan from 7 to 14 days based on usage patterns. Waiting for burnt flavor means you have already damaged the coil beyond recovery.
Priming coils by adding e-liquid dropwise and letting the wick saturate for 5 to 10 minutes prevents burnt hits immediately after installation. Drop e-liquid directly onto visible cotton wicking through coil openings. Fill the tank, then wait. Impatient users who fire immediately ruin new coils instantly.
| Maintenance Level | Coil Lifespan | Flavor Quality | Component Durability |
|---|---|---|---|
| Proper monthly care | 10-14 days | Excellent, consistent | 50% longer life |
| Irregular cleaning | 5-7 days | Degraded, inconsistent | Standard lifespan |
| No maintenance | 3-5 days | Poor, burnt taste | Premature failure |
Pro Tip: Mark your calendar with coil installation dates to track actual lifespan and optimize replacement timing for your specific usage pattern.
O-rings seal connections and prevent leaks. Hardened or cracked O-rings cause persistent leaking no matter how carefully you assemble the device. Replacement O-rings cost pennies but save your device from liquid damage. Learning coil priming and replacement best practices ensures you get maximum value from every coil.
Battery Maintenance and Safety Tips
Battery care directly impacts device safety and longevity. Lithium-ion batteries in vape devices require specific handling to prevent failures and safety incidents. Using manufacturer-recommended cables only and avoiding overnight charging prevents battery failure.
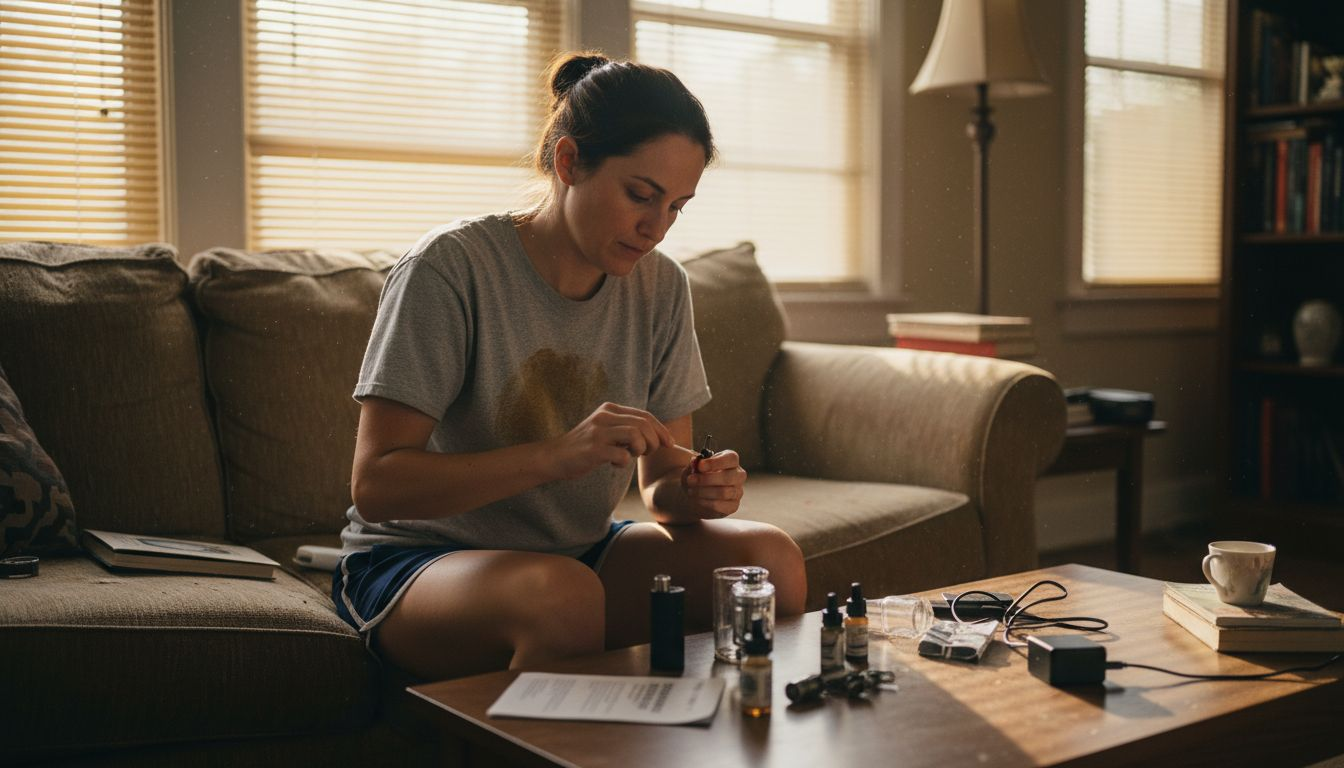
Charging with high-wattage fast chargers not specified by the manufacturer increases risk of battery overheating and failure by over 30%. Stick with the included charging cable or buy exact replacements from the manufacturer. Generic USB cables may deliver incorrect amperage.
Follow these battery safety practices:
- Unplug your device immediately when the charge indicator shows full
- Never leave devices charging unattended overnight
- Avoid exposing batteries to extreme heat or cold
- Replace devices showing battery swelling, unusual warmth, or rapid discharge
- Clean charging contacts monthly to maintain efficient power transfer
- Store devices at 40% to 60% charge for extended periods
Overnight charging keeps batteries at 100% for hours, degrading cell chemistry and reducing total lifespan. Unplug as soon as charging completes. Modern devices lack the sophisticated battery management systems found in phones and laptops.
Battery contacts accumulate invisible residue that increases resistance and generates heat during charging. Wipe contacts with isopropyl alcohol monthly to maintain efficient power transfer. Understanding vape battery basics helps you recognize warning signs before failures occur.
Never attempt to repair damaged batteries yourself. Replace the entire device if you notice swelling, excessive heat, or dramatically shortened runtime between charges.
Common Mistakes and Troubleshooting
Most vape problems stem from user errors during maintenance or assembly. Over-tightening vape cartridge threads damages contacts and causes intermittent firing or device failure. Hand-tight is tight enough. Forcing threads strips metal and cracks plastic housings.
Avoid these frequent mistakes:
- Using metal tools that scratch contacts or airflow channels
- Ignoring early coil degradation signs like slight flavor changes
- Neglecting airflow hole cleaning until blockage becomes severe
- Mixing cleaning chemicals or using household cleaners
- Reassembling devices before parts dry completely
Common vape issues such as gurgling, inconsistent firing, or burnt taste are mostly caused by blocked airflow, dirty contacts, or improper coil priming, which are preventable with routine maintenance.
When problems occur, follow this troubleshooting sequence:
- Identify your device type and its specific maintenance requirements
- Check the most common failure point first: coil condition and saturation
- Clean all electrical contacts with isopropyl alcohol
- Verify proper assembly with correctly seated O-rings and pods
- Test battery charge level and charging cable functionality
- Clear all airflow passages systematically
- Replace the coil if cleaning does not resolve issues
A troubleshooting flowchart approach focusing on device type identification and incremental fixes reduces average resolution time for common vape issues by 40%. Start with simple solutions before assuming major hardware failure.
Pro Tip: Take photos during your first full disassembly to reference correct part orientation during later reassembly.
Recognizing symptoms early prevents minor issues from becoming permanent damage. Slight flavor changes signal coil degradation days before burnt taste appears. Learning device setup and troubleshooting and avoiding common use mistakes and fixes keeps devices performing optimally.
Expected Results and Outcomes
Proper maintenance delivers measurable improvements in device performance and longevity. A proper vape care routine can extend the lifespan of coil and tank components by up to 50%, significantly improving flavor and vapor consistency. You will notice results within the first week of implementing these routines.
| Performance Metric | With Proper Care | Without Maintenance |
|---|---|---|
| Average coil lifespan | 10-14 days | 3-5 days |
| Flavor consistency | Excellent throughout coil life | Degraded after 2-3 days |
| Device component life | 50% longer than average | Standard or premature failure |
| Battery efficiency | Maintains 90%+ capacity | Rapid degradation |
| Leak incidents | Rare, caught early | Frequent, damaging |
Consistent daily checks prevent nearly all leak-related damage. Weekly cleaning maintains airflow quality that preserves flavor intensity and vapor production. Monthly deep maintenance catches wear before it causes failures.
Realistic expectations help maintain motivation. Not every device lasts forever, but proper care maximizes the lifespan you paid for. You should see coils lasting at least 10 days with good care. Flavor should remain consistent until the final day before replacement.
Battery runtime between charges stays stable for months when you follow charging best practices. Devices that once died mid-day suddenly last through evening sessions. Airflow remains smooth and responsive instead of gradually tightening.
Tracking actual results helps optimize your routine. Note coil installation dates and replacement reasons. Adjust cleaning frequency if you vape heavily or use particularly thick e-liquids. Understanding the benefits of proper vape usage motivates consistent care habits.
Enhance Your Cannabis Experience with Premium Vape Care
Maintaining your vape device properly maximizes the quality of every session, but pairing excellent care with premium products elevates your experience further. Explore our curated selection to complement your newly optimized device. Discover the best cannabis vapes designed for easy maintenance and consistent performance.
Our comprehensive vape selection guide helps match devices to your preferences and maintenance commitment level. Learn about essential cannabis strains that pair perfectly with your freshly maintained vape for optimal flavor profiles and effects. Proper device care ensures you taste every nuance of premium strains.
FAQ
How often should I replace my vape coil to avoid burnt taste?
Replace coils proactively every 7 to 14 days depending on your usage frequency and e-liquid viscosity. Change immediately at first signs of burnt taste or flavor loss to avoid damaging the coil beyond recovery.
What tools do I need for effective vape cleaning?
You need non-metallic picks, cotton swabs, pipe cleaners, isopropyl alcohol at 90% concentration or higher, warm water, and your manufacturer-recommended charger. A compact cleaning kit with these essentials ensures thorough and safe maintenance without damaging sensitive components.
How can I extend my vape battery’s lifespan safely?
Use only manufacturer-approved chargers and cables designed specifically for your device model. Avoid overnight charging and unplug immediately when the charge indicator shows full to prevent degrading battery cell chemistry.
What are common vape maintenance mistakes to avoid?
Never over-tighten pods or tanks, as this damages electrical contacts and causes intermittent firing. Do not ignore early coil degradation signs like subtle flavor changes or slight vapor reduction. Follow regular cleaning schedules to prevent airflow blockages before they affect performance.